Last Updated on March 25, 2021
“How to change a diaper?” is a common worry among new dads. Let me first assure you that changing a diaper is very easy. A nurse explained it to me once in the hospital, and with plenty of practice, it became second nature. So if you are in a hurry then check out the Youtube video by one father below the introduction and just start doing it.
The longer article is for dads who prefer to read the instructions … Alright, at least skim it, and it will hopefully take less of your time than watching a video.
No parenting site would be complete without this article, so here goes.
Table of Contents
What do you Need?
Here you can see a list of basic items, but you can do without some of them.
1. Diaper Changing Station
Don’t get me wrong here. It doesn’t have to be a high-end structure resembling the Iron Throne. You just need a place where you always change the diapers (even a couch will do), so you have all the essentials nearby.
That said, having a changing table in the nursery will make your life easier and safer.
It allows you to stand when changing the diaper, so you don’t stress your back.
Another point is that changing tables have safety rails. I have seen many parents in the ER department because their infants decided to roll over first time on their changing pads and ended up on the floor. Luckily I haven’t seen any serious injuries as a result of these falls, but they do occur.
Eclipse changing table (check the price on Amazon) is a popular choice among parents and it comes with a soft pad.
If you live in a small apartment, then try to keep your changing station away from where you prepare food to prevent contamination.
2. Changing Pad
Changing pads are soft, so the procedure is more comfortable for your little one.
For example, Summer Infant changing pad (check the price on Amazon) is a popular choice among parents.
I also used reusable underpads. What can I say…I’m a bit lazy and the underpads are easier to clean than the whole thing.
3. At Least two Diapers
You never know when a child will go, but there’s a chance he’ll do his business just after you’ve finished cleaning him up. At least you save a trip.
You can use disposable and reusable diapers. Disposable diapers are easier to use, but reusable can be more eco-friendly and may end up being a cheaper option.
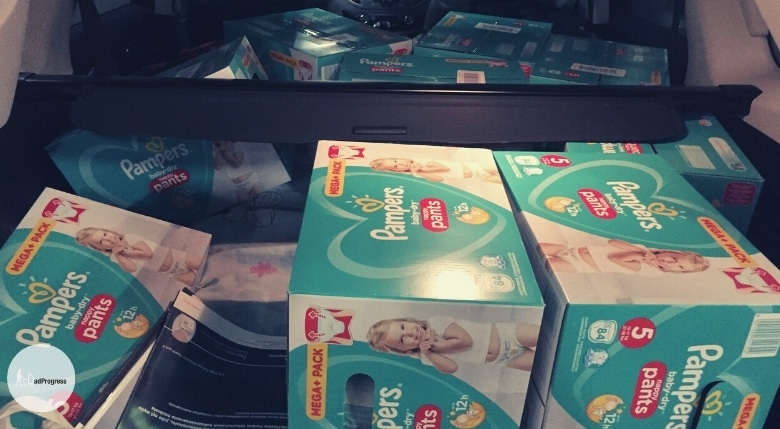
We tried different brands but still ended up using Pampers diapers (also sold on Amazon).
4. Water to Clean Your Baby
Newborns have sensitive skin. Standard soap containing baby wipes can irritate and dry it. Instead, use warm water and a cloth or cotton balls. Water wipes work as well.
We used standard baby wipes for the first couple of days until all the meconium had passed. It’s easier to clean a baby with wipes, and we needed little time to adjust to the new situation. We quickly switched to cleaning with water though- it’s better for the skin, and less trash is produced.
5. An Extra Pair of Clothes and a Plastic Bag
In case of a blowout or a leak, you’ll want a plastic bag to keep the soiled clothes away from everything else.
Changing The Diaper: Step-By-Step
Here’s a quick step-by-step quide.
1) Wash Your Hands
If possible, wash your hands first. Alternatively, you can use a wipe or a sanitizer to make sure you’re not spreading germs to your baby.
2) Check First
- If you’re using reusable diapers, then the outer lining may be folded inside the inner lining (the one that keeps all the poop and pee inside). Grab the clean diaper and completely unfold it to make sure that it’s assembled correctly.
- If you’re using disposable diapers for the first time, then make sure that you understand which side is which.
- Place the diaper close enough that it’s easy to reach, but not so close there’s a chance it could get dirty.
- Check your baby’s clothes to see if they’re soiled. You don’t want to put soiled clothes on your clean little one because you didn’t look.
- Remove the pants or onesie and set aside.
3) Remove the Diaper
You can usually remove the diaper before you begin wiping. That said, sometimes things stick, and it’s better to do most of the cleaning first.
If there is a lot of poop, wipe down with the inside front of the diaper.
With wipes or wet cotton balls, wipe from front to back until your baby’s front area is clean. Place dirty wipes in the diaper.
Now lift your baby gently by the ankles and clean your baby’s bottom. Keep the diaper in place momentarily if the baby’s bottom is very messy.
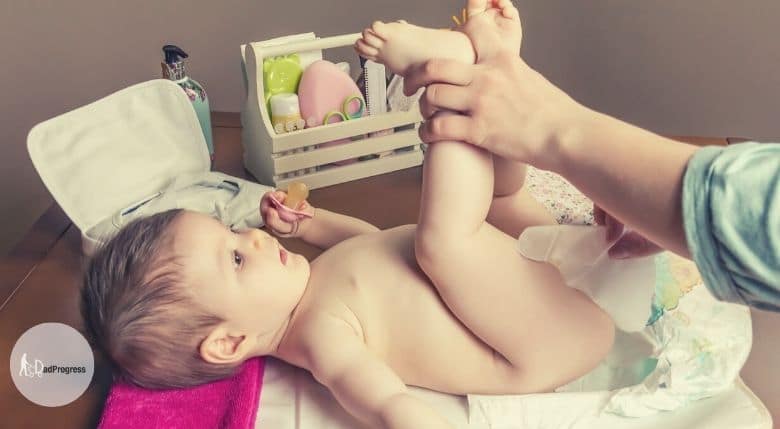
Now you can slide the diaper out and do the rest of the cleaning. Roll the used diaper, keeping the waste and dirty wipes inside and toss it in the trash.
I prefer to have a diaper pail in the bathroom, so I know where all the nappies are. If you buy diaper pail refills, then you don’t have to empty it daily as the small bags helps to contain the smell. When your kid grows, it’s cheaper to use regular plastic bags because the diapers are quite big and you’ll end up emptying it every day.
Dekor diaper pail which is also sold in Amazon is a popular choice among parents.
TIP: It’s worth noting that if you use disposable diaper pants, then some models allow you to rip open the sides for easier removal. Pampers diaper pants are one such example.
I admit that I’m not happy that the process creates so much waste. So if you think that you can commit to using only reusable diapers, I applaud you.
4) Wipe Your Baby
The basic idea is that if you’re using wipes, you should always clean the front end first because there are more bacteria in the diaper area. After wiping the front end, lift your baby gently by the ankles and clean your baby’s bottom.
Be thorough and gentle. You want to prevent diaper rash by cleaning well, but you don’t want to damage your baby’s delicate skin by wiping too hard.
Carefully lower your baby and check the diaper area. You’ll want to make a note if the skin is irritated. This lets you know if you need to apply ointment, switch up what you’re using for wipes, or simply start changing diapers earlier.
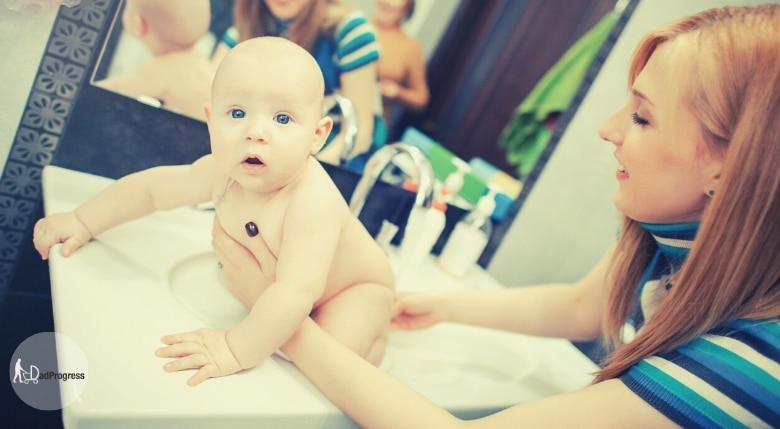
As noted, we started to use running water early on. You hold your baby on your hand, so he or she is facing the floor. After that, you can safely do the washing under the running water.
5) Put on the new Diaper
Wash your hands first, and grab the clean diaper! I describe how to put on a disposable diaper because there are many different types of reusable models out there, and the technique depends on the model.
If you have a baby, then he or she will be lying on your changing station. First, gently lift the baby. Make sure the straps are in the back and slide the diaper under the baby. Pull the straps around to the front of the diaper and fasten.
With a toddler, it’s easy if you’re using diaper pants. My one-year-old stands and he puts his legs through the holes one at a time- just like using regular underwear.
TIP: If you have boy then double check that his penis isn’t pointed up or he’ll wet himself despite wearing a diaper.
6) Put on the Clothes
7) Clean up
Don’t leave your baby unattended- it’s best first to put him or her to a crib.
After that, you can clean the changing station. Check that the diaper is in the trash and if the underpad got dirty, throw it in the washer.
If you’re using reusable diapers then depending on the type, throw the whole thing to a container until you get a chance to wash it, or just remove the inner layer for cleaning.
If the changing pad got dirty, it’s preferable to wash it with a mild cleaner.
Pro Tips
Now that you know how to change a diaper, always keep these essential tips in mind.
- Breathe through your mouth. It might be unnatural, but it is necessary. After you smell something so disgusting you won’t believe it came out of your little bundle of joy, you’ll get the picture. Practice this skill and save yourself some discomfort.
- See if your child just went by checking if the diaper is warm or the baby is still wet. It might be a good idea to give them an extra minute to finish, especially if you’re changing a boy.
- Have more than enough wipes even if you’re cleaning with water. The last thing you want is to run out halfway through the change, so keep an extra pack around just in case.
- If there’s room in your diaper bag, bring additional supplies. You’ll run through them quickly if your child has an upset stomach. Better to have too much than not enough.
- Snug, but not tight. The diaper shouldn’t come off with a simple tug, but it shouldn’t be so fast that it restricts your baby’s movement or presses on the stomach.
- Safety first! If you forgot something like diapers or clothes, exercise caution. If you need to walk over to a different part of the room to grab them, place your baby in the crib or on the floor.
NEVER leave your baby unattended on an elevated surface. It only takes a second for a baby to roll off. If you need to leave the room, take your baby with you. Extra clean up is always better than an injury.
You Got This!
Changing a baby’s diaper can be a daunting process for the first time, but hang in there. Follow these steps to get off to a flying start. Once you get rolling, things will become automatic.
Everything gets better with practice, and babies will give you plenty of it.
